Because beginning knitters have difficulty with tension control, the vertical
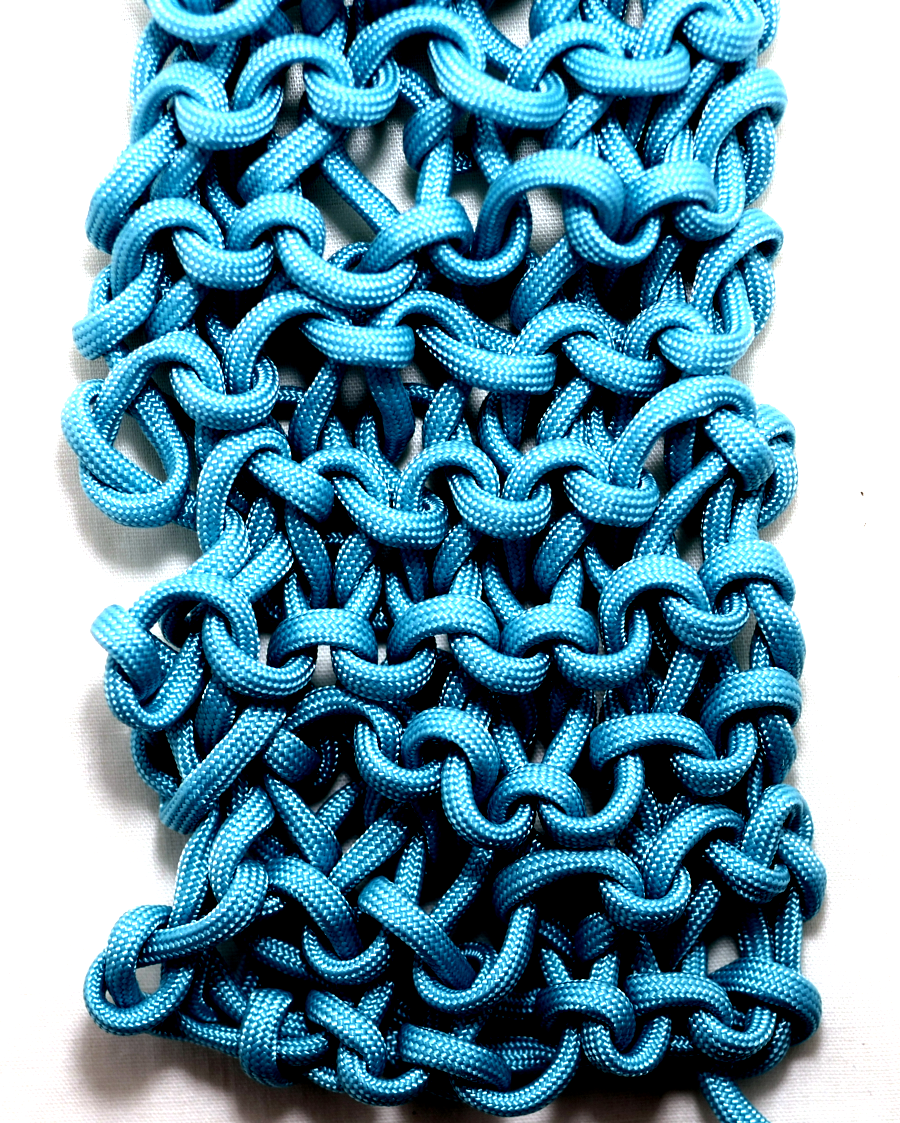
 Because beginning knitters have difficulty with tension control, the vertical edges of the knitting tend to be sloppy. In the image to the left, lack of control is seen on the left edge. The right edge of the sample exhibits good tension control.
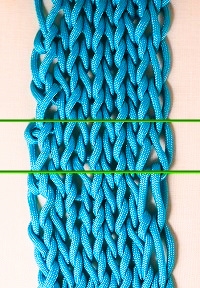
An easy way to prevent this from happening is to simply slip the first stitch of every row as is seen in the image to the left. Be aware that this will elongate the edge stitches. The green lines mark two rows of knitting. The left edge has the slip stitch while the right edge has no slipped stitch.
These larger stitches make seaming a bit easier for those early seaming projects. This slipped stitch is almost always used in heel construction as it makes it easier to see where to pick up stitches for the gusset.
 Not every knitted piece benefits from a slipped stitch edge. Once the technique of properly tensioning the yarn is established, it is time to learn how to work that edge stitch.
It is scary for new knitters to have yarn on the tapered part of the needle. Slide the first three stitches on the left needle onto the taper. Use your index finger to hold those stitches in place. As you work those three stitches, work them as tight as possible while keeping the new stitches on the taper of the right needle. The third stitch is usually difficult to keep on the taper. Once those three stitches are worked, slide them onto the shaft of the right needle. They should feel very tight as they are slid onto the needle.
While these stitches initially seem quite tight, this technique will produce an edge that matches the tension of the rest of the fabric. Exactly why this works is a bit of a mystery. Some yarn is likely being pulled in from adjacent stitches. Also knitting tends to have a lot of stretching happening in both directions. These tight end stitches will help to control that stretch and create a nice edge.

