Garter stitch is what happens when every row is knit using straight needles.
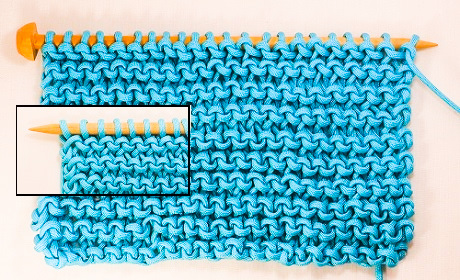
 Garter stitch is what happens when every row is knit using straight needles. The first picture shows how the stitches look on the needle as you are ready to start a new row. The inset shows how the stitches look on the needle as a row is finished. Both sides of the fabric look and are the same. (The first stitch of every row is knitted in this sample.)
The row that is running along the needle in the picture shows the characteristic ridge of garter stitch and is the purl side of the stitch. The inset shows a slight gap between the needle and the ridge row beneath it. The depression between the rows is the knit side of that row. By putting your nail or a needle in the depression, you can find that ridge on the other side of the fabic.
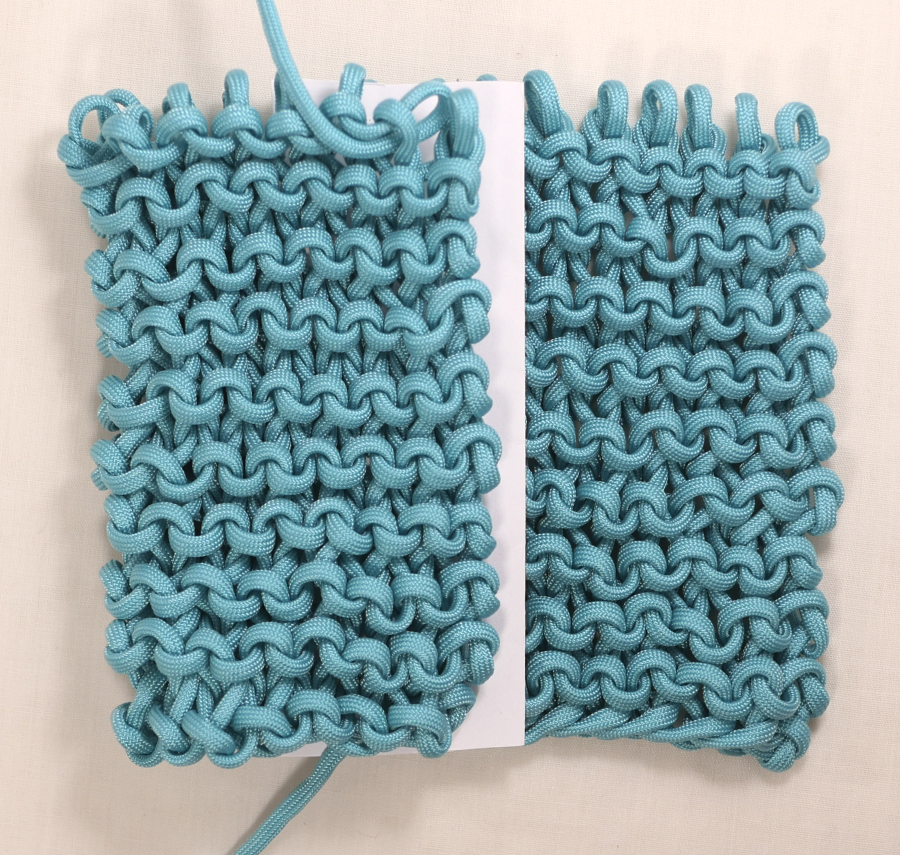
 The second image shows the garter stitch sample folded in half so that both sides are visible. Knowing how many rows have been knit is easy. Just count the ridges on each side and add them together. Keep in mind that the type of cast on used can create an additional row of knitting. You should be able to coount nine rows on each side of the paper that is inserted in the middle. While garter stitch fabric is the same on both sides, the cast on edge is very different on each side.
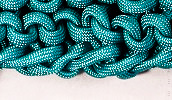
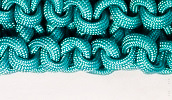
 These last two pictures display how the cast on looks from each side. There is no "wrong side" for the cast on. Choose whichever side fits with the look you want to achieve. Keep in mind that it is important to use the same side for each piece of a garment so that all the edges match.
